
In this post I will be demonstrating how to use the Computer Vision API with Dynamics 365 and Flow.
Before we go into much details lets have a quick look at what “Computer Vision” API is and what it is capable of doing.
Computer Vision API is one of the AI offerings from the Microsoft Cognitive Services. Computer Vision API uses Image-processing algorithms to smartly identify, caption and moderate your pictures.
Main features include:
- Analyse and describe images
- Content moderation
- Read text in images, including handwritten text (OCR)
- Recognize celebrities and landmarks
- Analyze video in near real-time
- Generate a thumbnails
In this Example, I will be demonstrating how to use the Computer Vision API with Dynamics 365 and Flow. Flow only offers limited functionality of the Computer Vision API however if you wish to use it to its full potential, you can custom build a service using Microsoft Cognitive Services. The following example can be used to read text from receipts or to auto generate tags and descriptions for images uploaded to Dynamics 365.
- Create a trigger for your Flow. In this example I have used the creation of a “Note” (annotation) in D365 as the trigger.
-
- You will have to setup the connection to your Dynamics 365 instance and use it when setting up the trigger

-
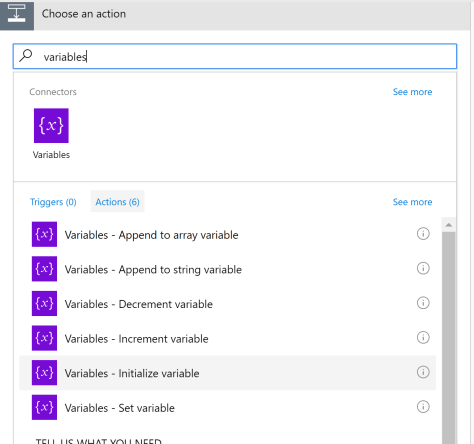
- In the next step I’m initializing a variable to capture the results of the analysis. Click the ‘+’ button below the trigger event created in step 1 to add a new action.
-
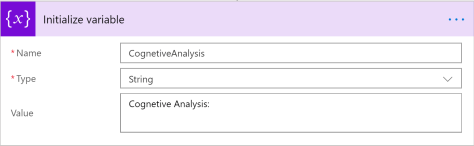
- Select “Initialize variable” as your action
-
- Define the name, type and a default value for your variable
-
- A note record in Dynamics 365 may or may not have an attachment associated with it. Let’s add a condition to check this.
-
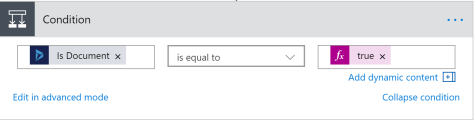
- Add a condition step to your flow
- Check whether the “Is Document” property is equal to true
-
- Since we are going to analyze an image we would need to check whether the attachment is an image
-
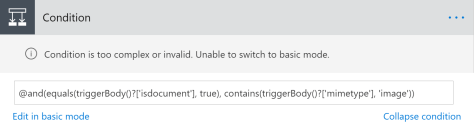
- Use the mime type of the attachment to validate whether it is an image or not
- In Flow you cannot have multiple conditions in one condition block using the basic mode
- If you want to add multiple conditions using the basic mode, you will have to nest condition blocks
- But in this example I have used the advanced mode and combined the two conditions into one condition block
- You can use “@and()” or “@or()” to group your conditions
-
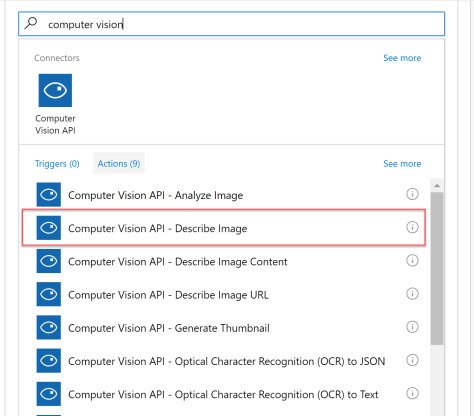
- Next step is to create the connection to the Computer Vision API
-
- For this you will need a cognitive service setup in Azure and the service URL with a key to use it
- Add an action of type “Computer Vision API – Describe Image” in the TRUE/YES branch of the above condition
-
- Set the “Image Source” as Image Content
- Set the Image content as Document body. But you will have to convert from Base64 to Binary before you pass it to the action. You can navigate to the expressions area and set this. (base64ToBinary(triggerBody()?[‘documentbody’]) )

-
- Now to get the results of the analysis and capture it. I’m using the captions describing the image for the example.
-
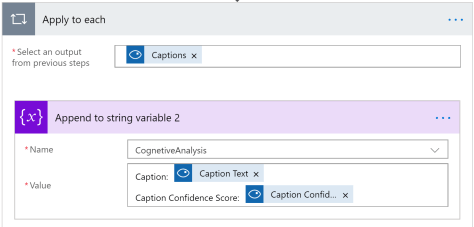
- Add a new action of type “Variables – Appends to string variable”
- Select the variable initialized at the start of the flow
- Append “Caption Text” and “Caption Confidence Score” to your variable
- Since there can be multiple captions generated flow will automatically add a recursive block around your action.
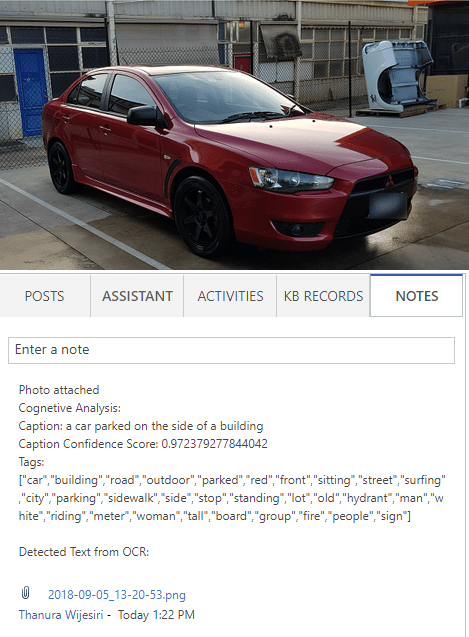
- Caption will describe the image and the caption confidence score will give you a score between 0 and 1 (where 1 being the best possible score).
-
- Computer vision also analyses the image and provides tags that best suites the image. To capture this information I have added another action and append the values to the same variable as above.

- Similarly we can use the Optical Character Recognition capabilities of the Computer Vision API to extract the text in the image.
-
- In this example I have added another action to connect to the “Computer Vision API” of type “Optical Character Recognition (OCR) to Text”

-
- Similar to the previous action we will set the image source as the image content and set the image content to the document body (base64ToBinary(triggerBody()?[‘documentbody’]))
- Then append the detected text to the variable

-
- Final step is to update the note with the results.
-
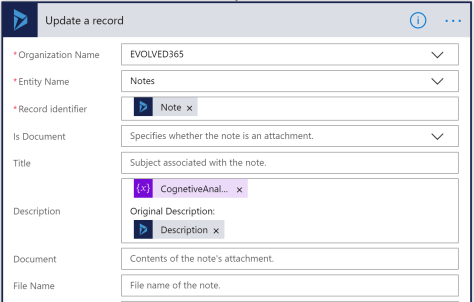
- Add an action to update a Dynamics 365 record
- Select the CRM organization from your connections and the entity we are updating
- Use the identifier of the note we are editing as the “Record Identifier”
- Set the variable containing the results to the description field and append the existing description to the end. This way we don’t overwrite existing information that are already there in the description field.
- This step will update the Dynamics 365 record with the results of our analysis. This can be used for various purposes.
-
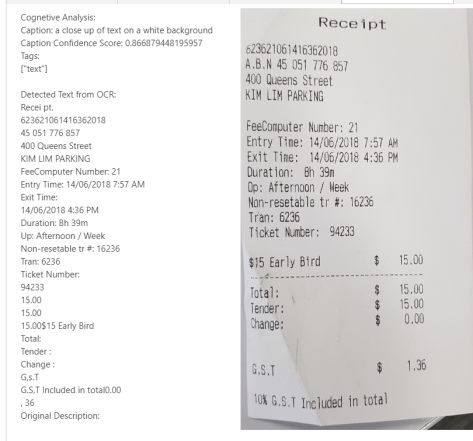
Lets look at some of the results:
For more information and live demos please visit: Microsoft Computer Vision API
Here are two Flow demos I’ve prepared that uses Computer Vision API:
